Easy Step-by-Step for Efficiency
Many homeowners wait until their water heater stops working before thinking about it. A proactive approach, like preparing a spring water heater checklist, can prevent unexpected cold showers. Preparing your water heater for the year can help you avoid a disruptive breakdown.
Establishing a regular water heater maintenance schedule is the best way to maximize its lifespan and efficiency. Spring is an ideal time to assess your system and help it deliver warm water throughout the year while avoiding major problems. This spring water heater checklist will guide homeowners in identifying potential issues.
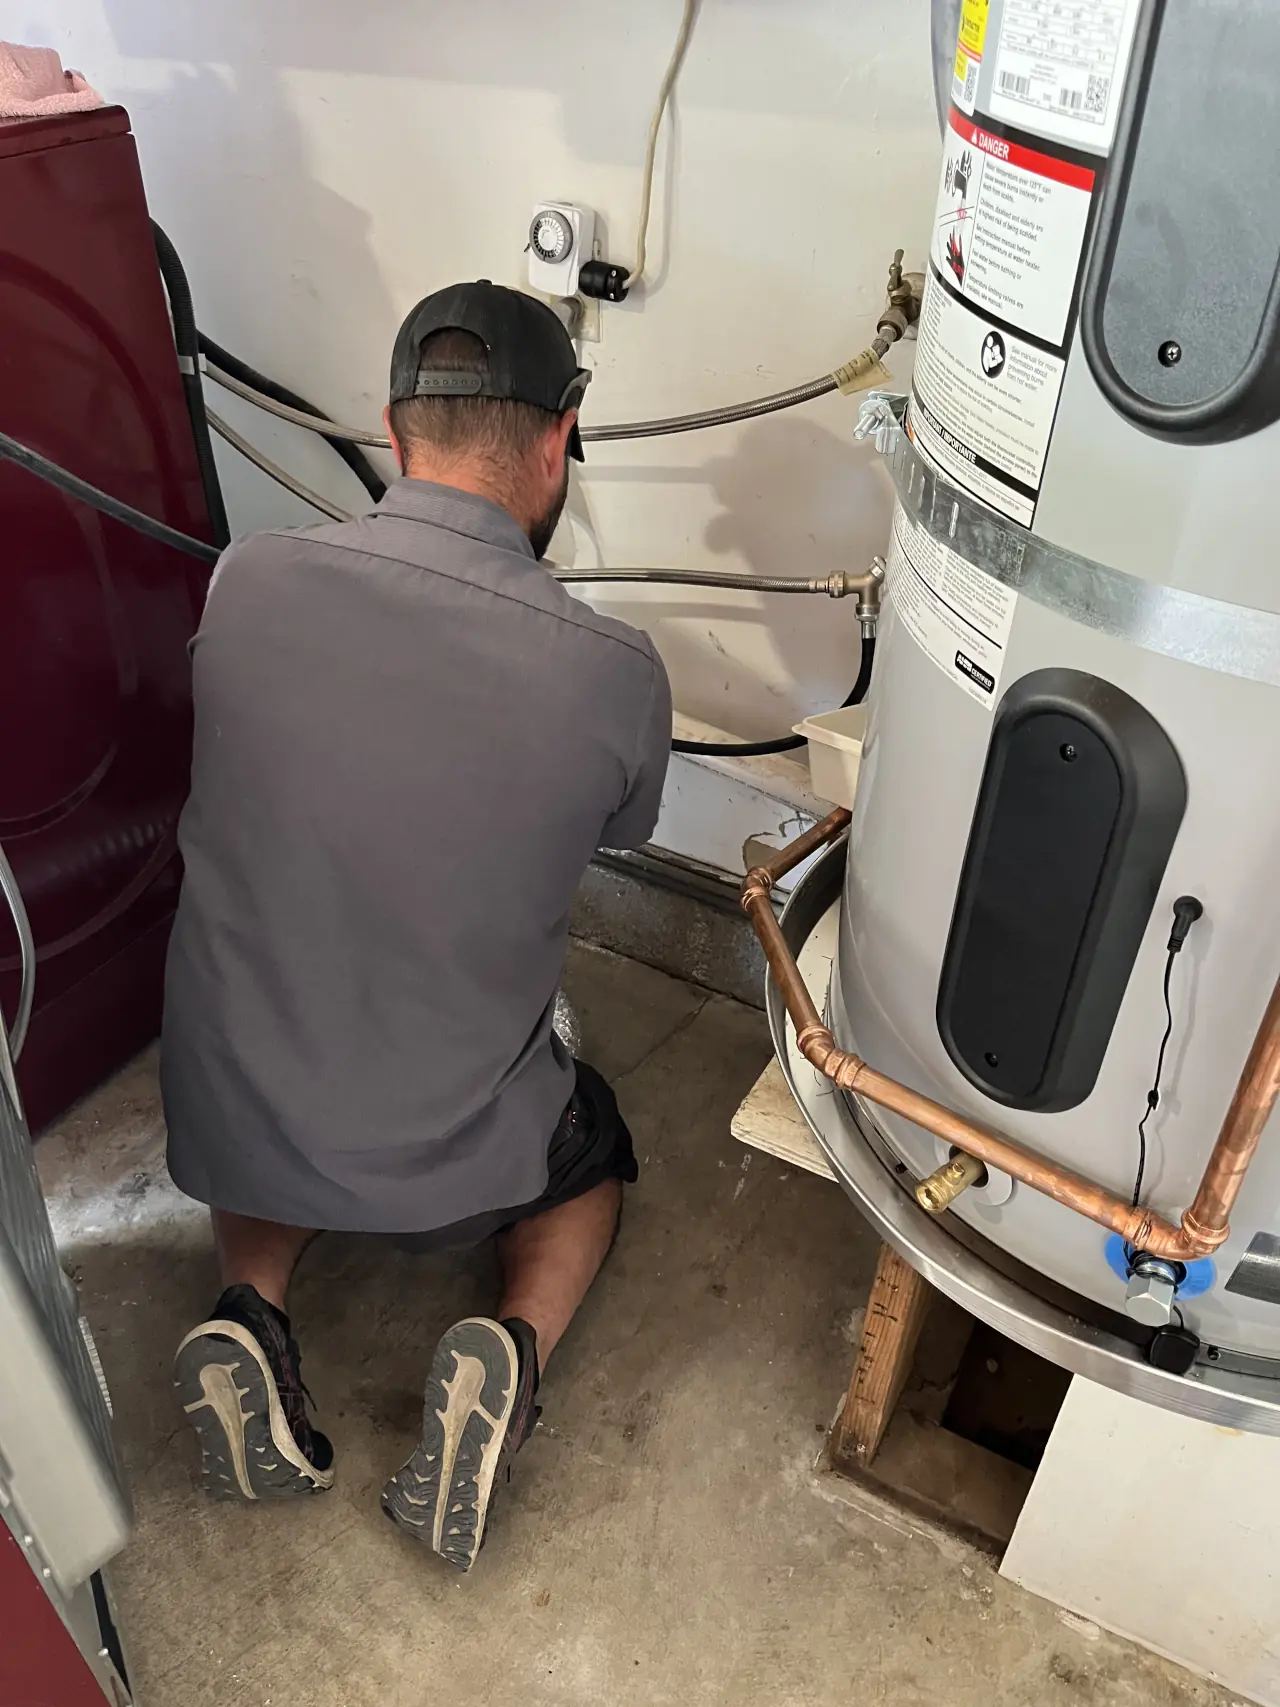
Visual Water Heater Inspection
Begin your heater maintenance with a thorough visual inspection of the entire system. Look closely for any damp spots or puddles, which could be a sign of water leaks. Pipes and connections can deteriorate over time, especially when exposed to minerals.
Water with a calcium carbonate concentration exceeding 180 mg/l is classified as “very hard.” Heating hard water leads to scale buildup inside a water heater tank. For example, Austin, Texas is known for having “very hard” water, often surpassing that level.
Examine the tank’s exterior for any signs of rust or corrosion. If you have a gas water heater, inspect the gas line connections, too. Performing these regular inspections annually increases the likelihood of spotting problems early on.
Check Temperature Setting
Your water heater’s temperature setting significantly impacts energy consumption. The optimal temperature can vary depending on individual preferences and the time of year. The general recommendation is to maintain a temperature no higher than 120°F.
If your water heater is approaching the end of its typical lifespan, consider a water heater replacement soon. Installing a new, energy-efficient model can lead to reduced energy bills. This can provide significant savings throughout your new heater’s lifespan.
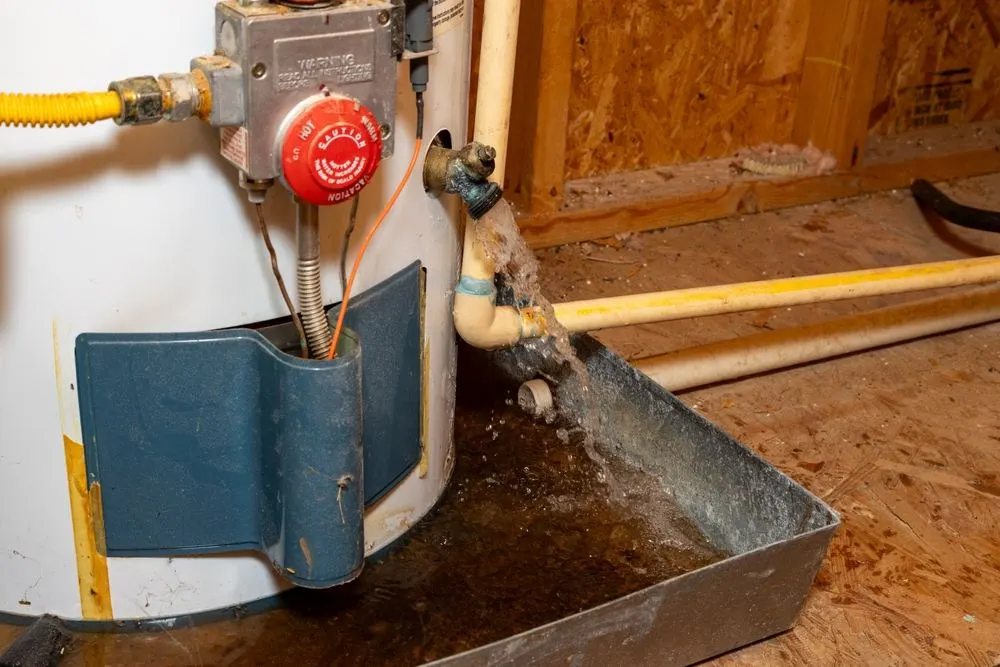
Inspect Hoses and Connections
Your water heater includes several hoses and connections. Examine them carefully for any signs of damage, such as cracks or brittleness. Any damage could indicate that replacement is necessary to fix water leaks.
Steel braided hoses are generally preferred for high-heat applications. Consider replacing older hoses with steel braided ones if they show any signs of wear. Addressing this proactively helps prevent water from leaking from deteriorated pipes.
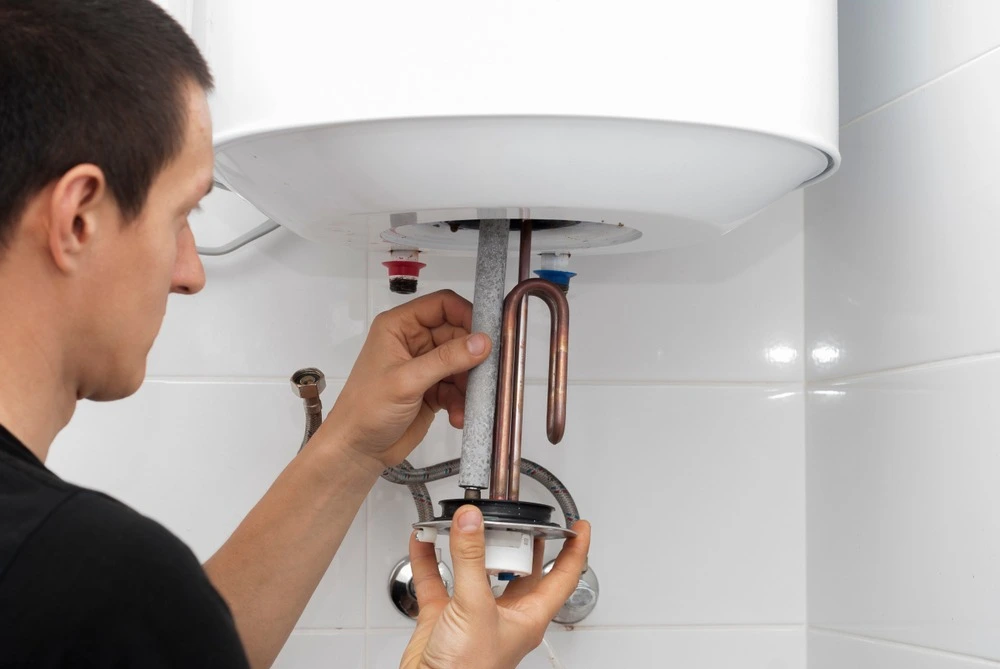
The Anode Rod
Inside your water heater tank resides a component called an anode rod. Its primary function is to attract minerals present in hard water. This action plays a crucial role in extending your water heater’s lifespan.
By attracting these minerals, the anode rod prevents corrosion and mineral deposits from forming on the tank’s interior. Regular water heater maintenance is vital for assessing its condition. Replace anode rods if you observe significant buildup, as this can save your water heater tank.
Pressure Relief Valve Testing
The temperature and pressure relief valve, often referred to as the T&P valve, is an essential component of every water heater system. The pressure relief valve is designed to open when there is high pressure. If temperatures exceed 210°F or pressure surpasses 150 psi, the pressure relief valve should release water from the heater tank.
The T&P valve opening is a critical safety feature. It releases excess pressure, potentially averting a more serious situation. If it fails to open, prompt repair is necessary to make sure your water heater is working correctly.
Drain and Flush Your Tank
A thorough drain and flush of the water tank allow water to flow and remove sediment buildup. Sediment buildup can reduce your tank’s efficiency when heating water. To flush the tank, begin by turning off the power and cold water supply to the unit.
Then, connect a standard garden hose to the drain valve located at the tank’s base. Find a location where it can drain water safely. It’s a good practice to disconnect your system’s electricity, regardless of the type of heater. Taking these steps helps minimize tank corrosion and remove sediment.
Here’s a simple table of steps:
| Step | Action |
|---|---|
| 1 | Turn off power and cold water supply |
| 2 | Attach hose to drain valve and start water flow |
| 3 | Completely Drain Tank of Water and Sediments |
| 4 | Once clear water runs out the hose, close the drain valve. Remove Hose. |
Testing of the Thermostat and Valves
The thermostat allows you to monitor water temperature. Thermostats regulate the heat, maintaining a consistent temperature. Electric water heaters typically have two thermostats, one located at the top and the other at the bottom of the system.
Testing involves using a multimeter. These meters verify that power is flowing through the thermostat and valves. This aspect of hot water heater maintenance often benefits from a professional inspection.
Check the Burner Assembly and Clean
During a hot water heater maintenance inspection, it’s important to visually assess the burners. Start by removing the assembly and wiping away any loose debris. Follow this by rinsing the components with hot water, carefully examining for any damage.
Cleaning the burner assembly on a gas water heater helps it heat water more efficiently. Removing mineral deposits from the burner improves energy efficiency. Keep your water temperature more consistent by cleaning the burner as a regular maintenance task.
Venting Systems and Flue
If you have gas water heaters, careful examination of the venting system is necessary. This includes inspecting the vent pipe and the vents themselves. Proper venting is crucial for ensuring efficient combustion within the system and for removing exhaust gases. Verify that there are no obstructions blocking airflow.
Check the discharge pipe for any water leaks. Check around the sump pump for any standing water. Keep the air conditioning drain line clear.
Electrical and Insulation Needs
Inspect the system’s wiring for any loose connections. These can create hazardous situations. Replacing worn or loose wiring keeps it working as intended. Wrapping insulation around your tank minimizes heat loss from your water heater.
An insulation blanket helps reduce energy costs and maintain consistent water pressure. Check any electrical connections for corrosion. Be sure all electrical connections are tight.
Final Steps of Running A Short Cycle
After completing this annual maintenance, you can verify the system’s operation by restoring it to normal working order. Once the tank is refilled, allow the system to run through a brief heating cycle. When you confirm that everything is functioning as expected, you can shut the system down. If the operation is quiet, that usually signifies there are no problems.
Spring Water Heater Checklist: Conclusion
Homeowners often focus on plumbing maintenance during the spring. Your water heater usage can fluctuate as seasons change. Following a consistent spring water heater checklist, with routine maintenance, is essential to prevent expensive water heater repairs.
These proactive measures contribute to your system’s overall health. Addressing minor issues promptly improves efficiency. They will lower the chances of a costly heater repair. Including these steps in your spring water heater checklist simplifies plumbing maintenance, giving homeowners comfort and control.
Contact us today for more information or to schedule a free consultation.